Want the letter in your inbox on Sunday?

In the spirit of life-changing, important travel information, I bring you this critical, step-by-step instructable. Thank me now. Thank me later. Thank me when this changes your life.
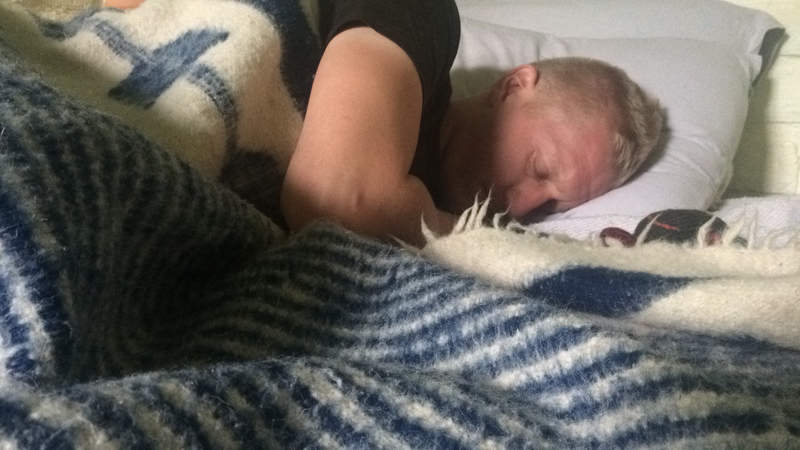
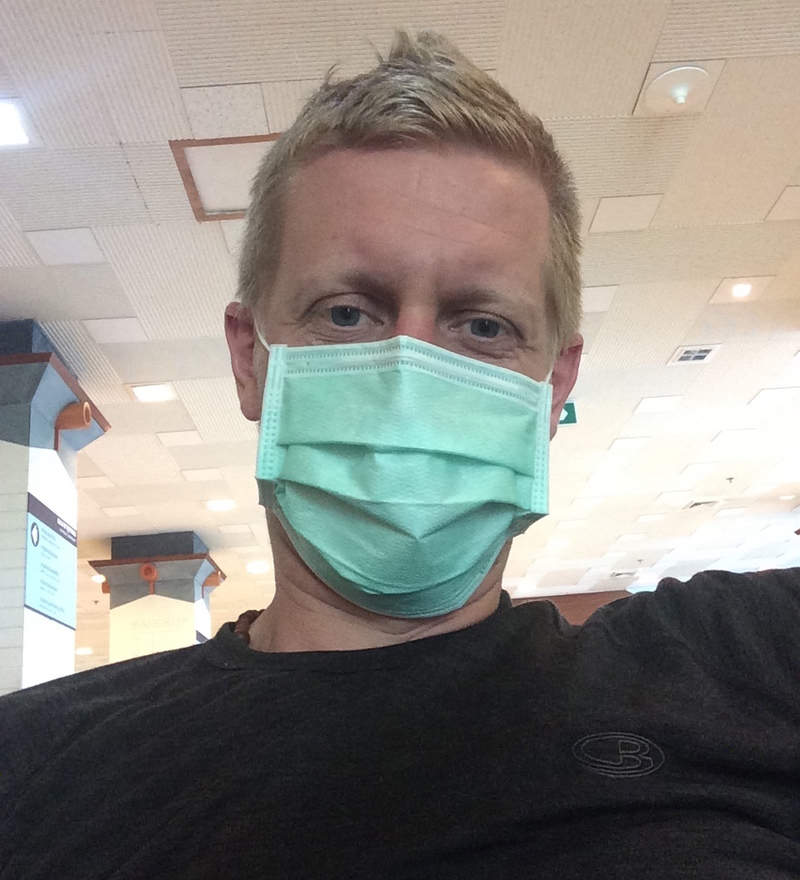
It will happen inevitably. You'll have fought off the sickness (with a little help from your friends.) You'll have negotiated culture, hospitals and supermarkets with gusto and aplomb. But you won't have been prepared for this.
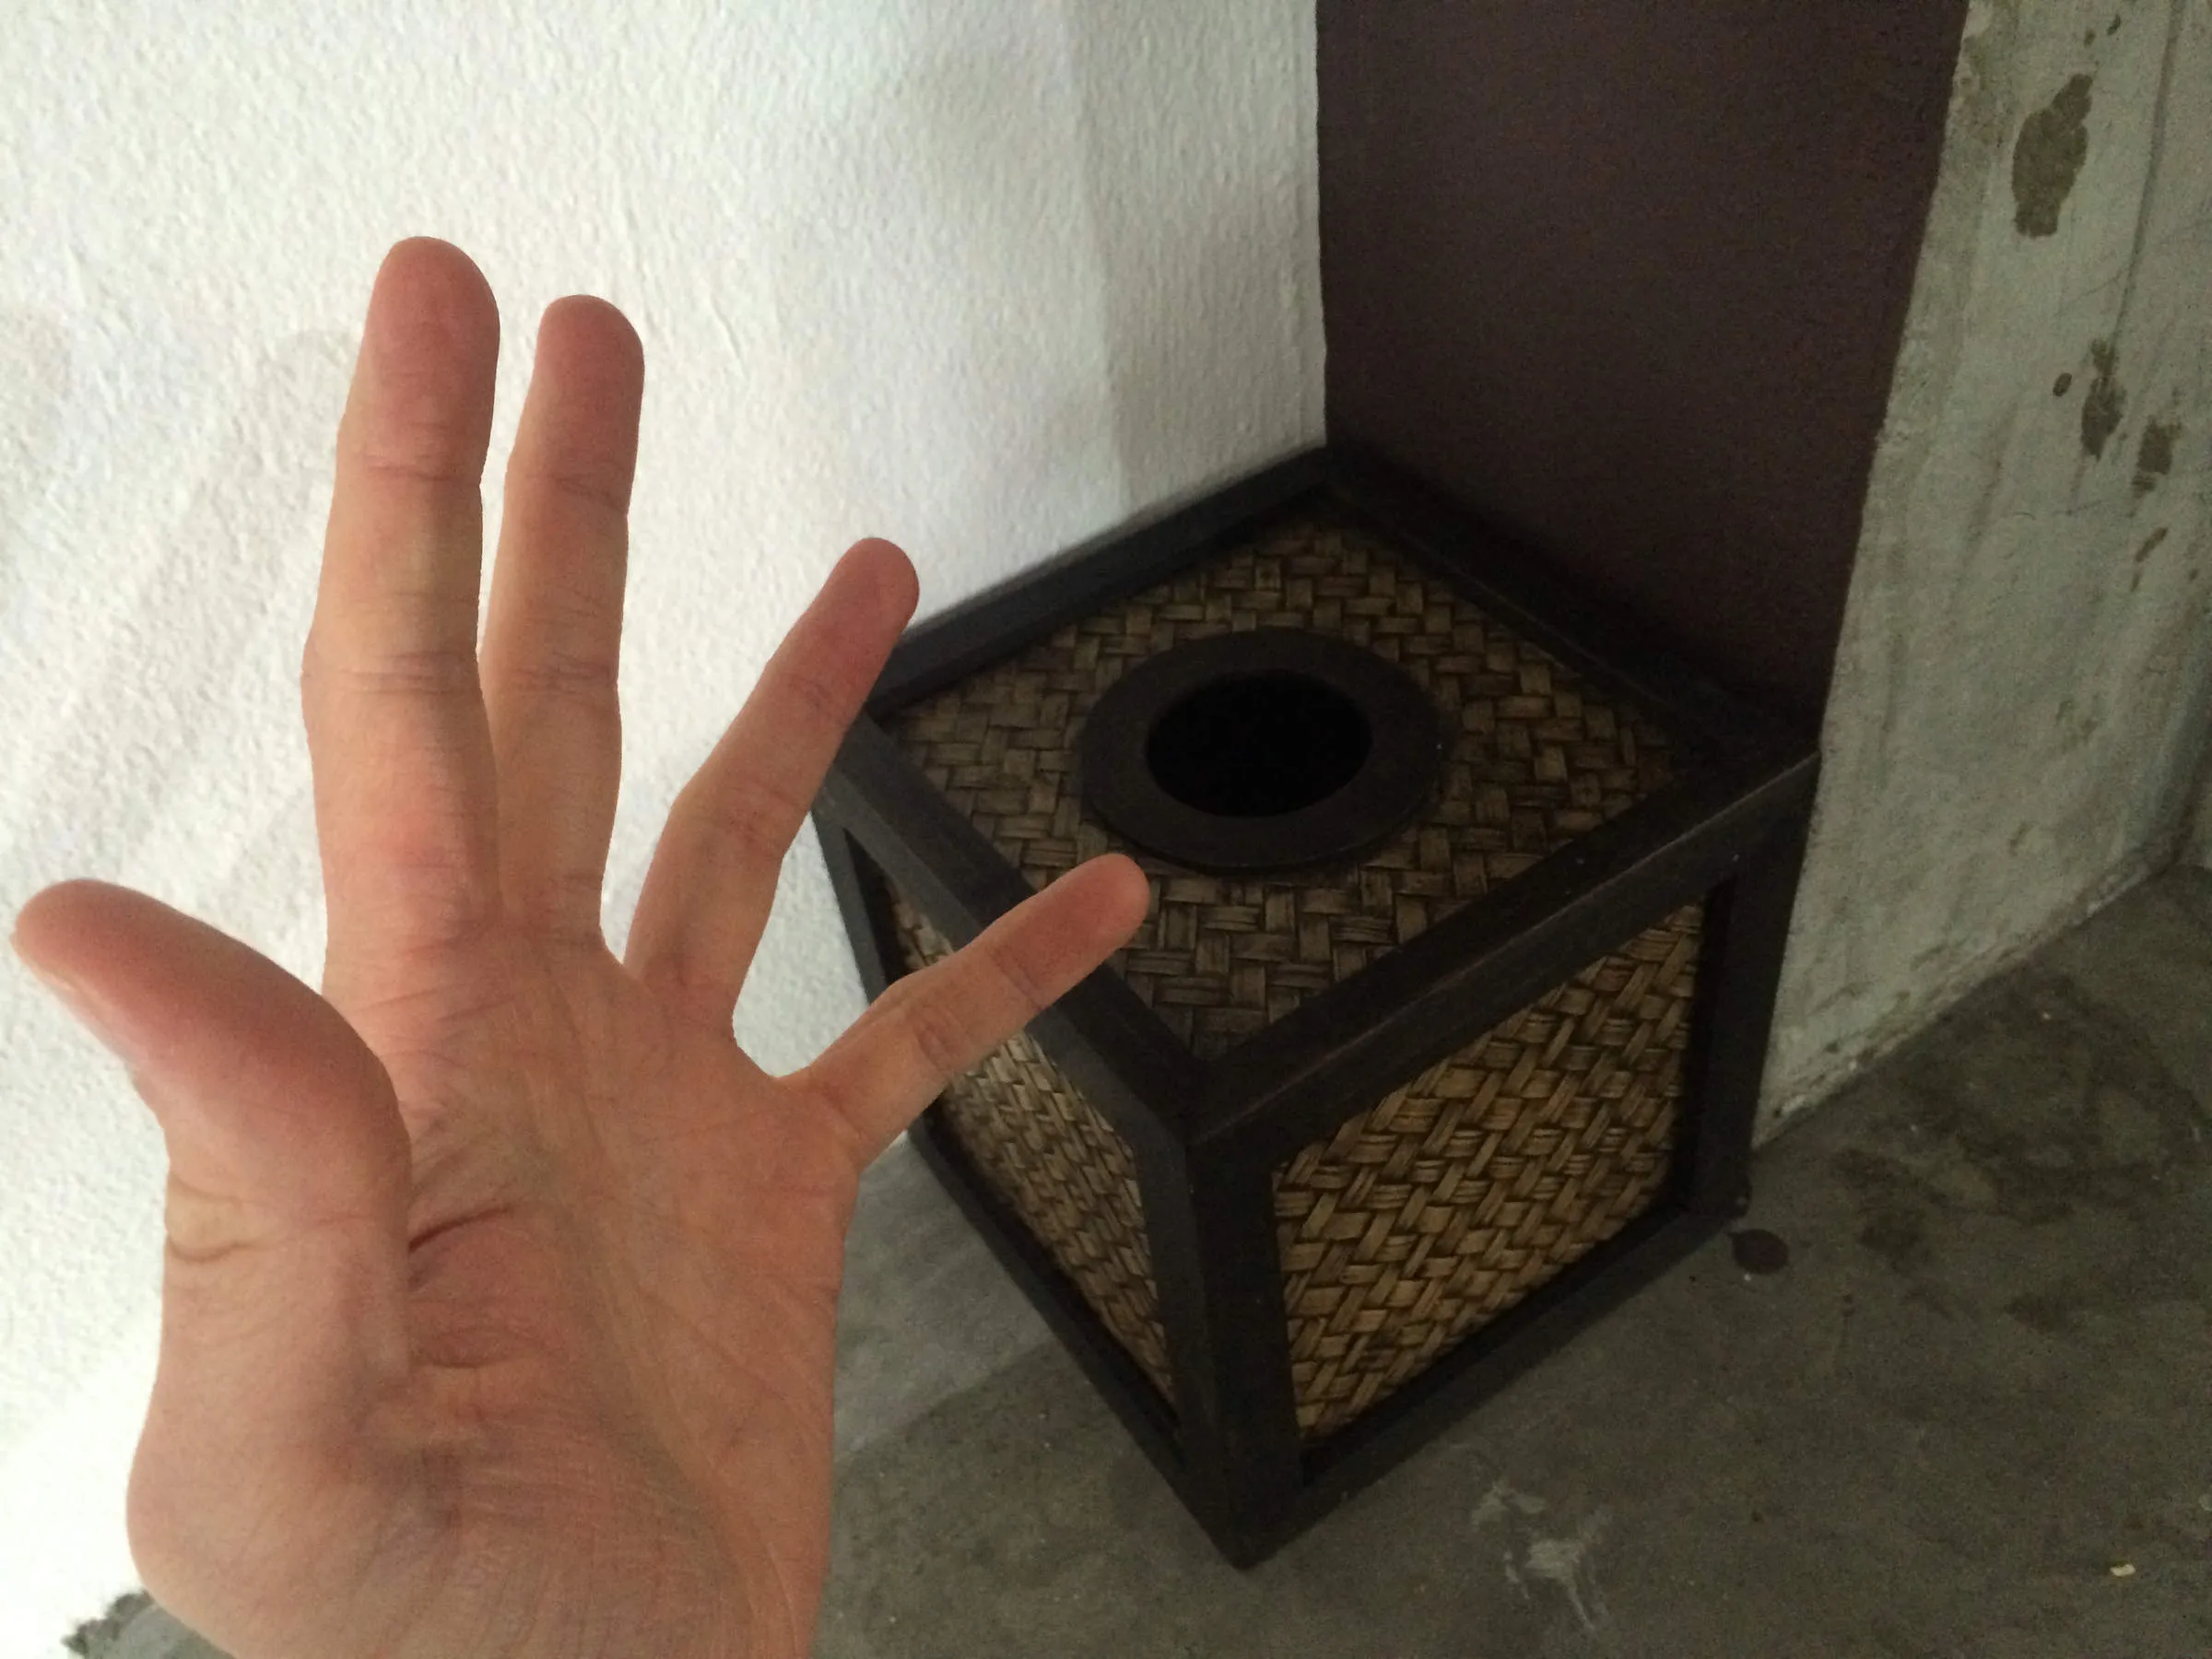
The tissue box has run out.
You know how in the US when you're out of tissue, and nobody's coming over to your house anytime soon, you just use toilet paper and move on with your life? Over here, they've just skipped that first step. Kleenex doesn't really exist. In fact, it's such a standard of life that there are bespoke toilet paper/tissue dispenser boxes. Unfortunately, the law of conservation of mass still applies, and eventually, they run out.
Here, for your moment of panicked terror, are simple, step-by-step instructions for replacing it.
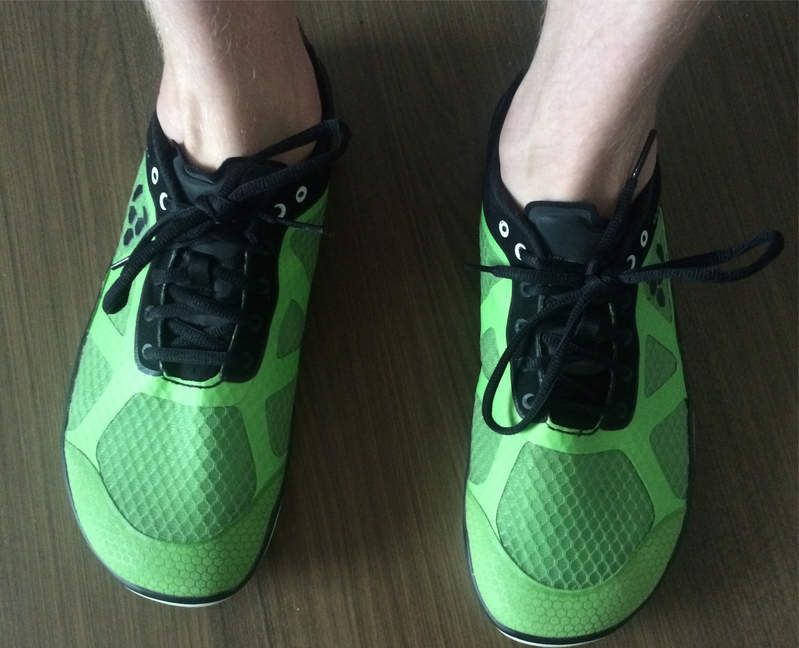
Take a small walk around your room. Crack the window. Notice your toes. Notice that you really should invest in a mop. In whatever way is right for you in this moment of moments, notice that you are not a tissue box. You are a separate and whole human being. You will be ok.
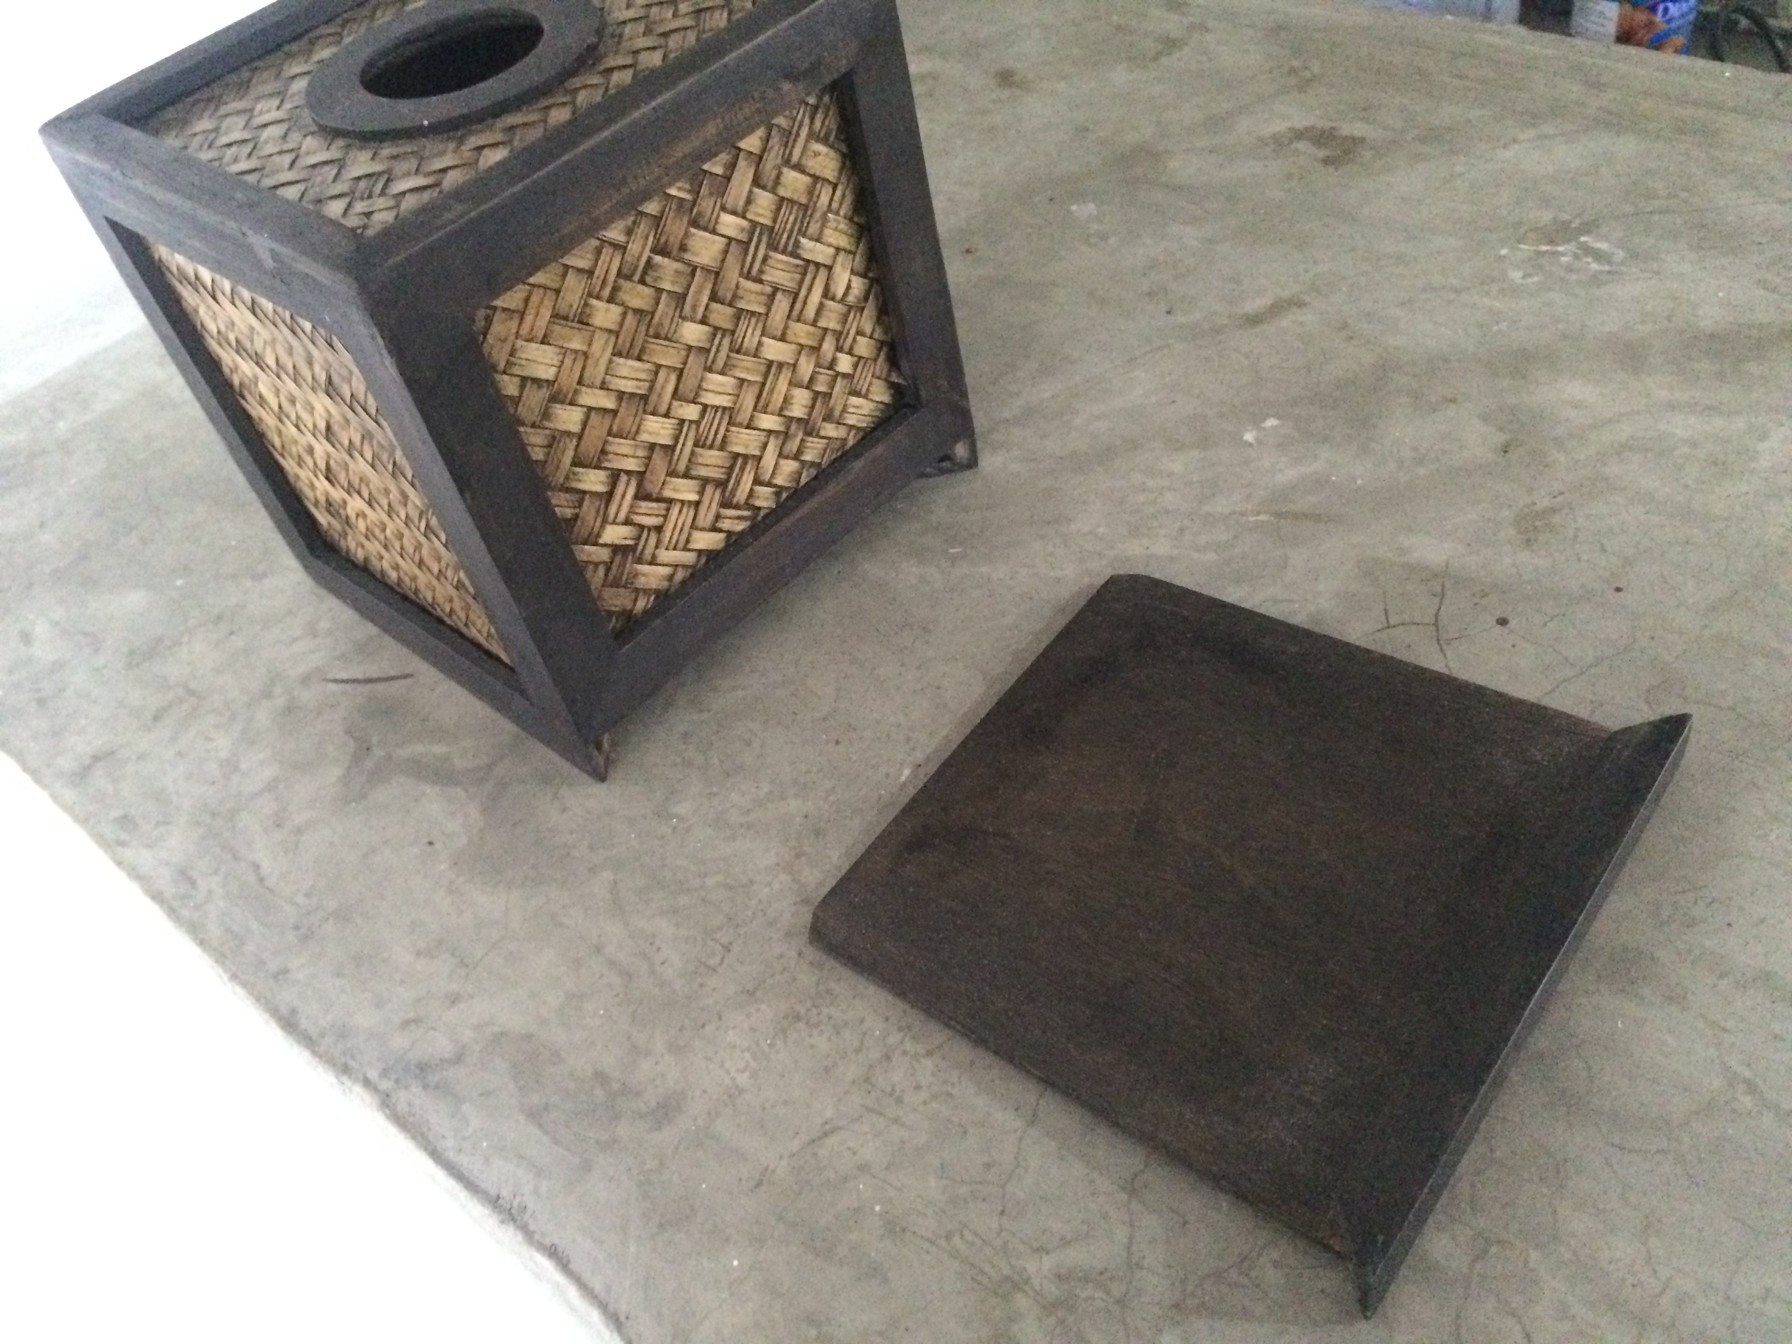
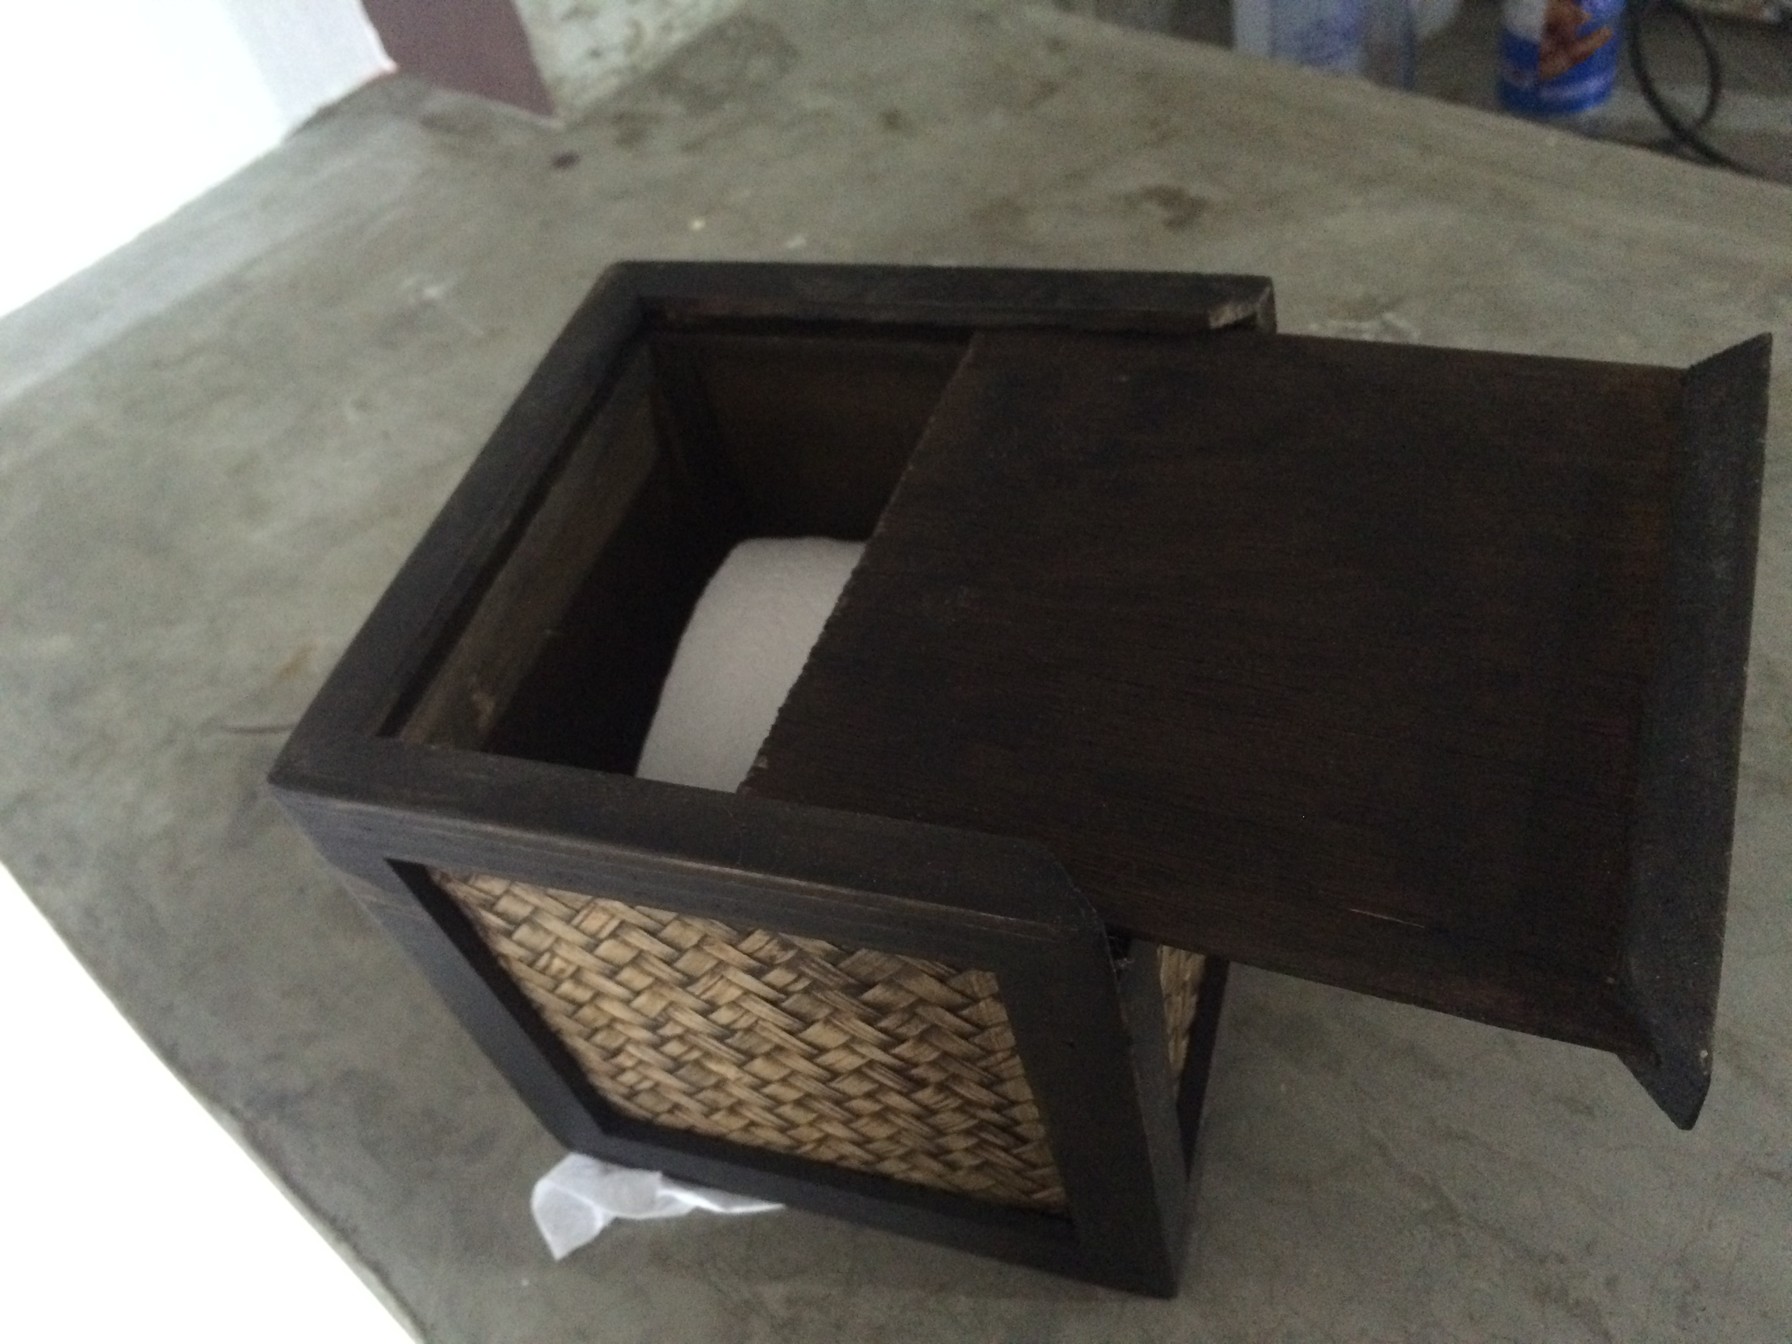
Mind cleared, re-approach the box. Find, often along the bottom, its opening point. Many are slides. Some are hinges. Use the creativity of your inner 5-year-old, and disassemble. Disassemble like you've got 30 seconds ‘cause mom's coming soon. Be brave. Be clever. You can do this.

You goal is to remove the cardboard tube from the inside, without damaging the roll. Yes, that sounds like magic. It is.
This is a higher art, so don't expect to get it right the first time. Like peeling tomatoes or falling in love, this is going to take some practice, and you may get a few wrong. Give yourself a break. Especially now, you deserve it.
The key is to use your thumb to make an indentation in one side of the inner tube. Then, use one of your longer fingers to deepen that indentation - all the way through to the other side.

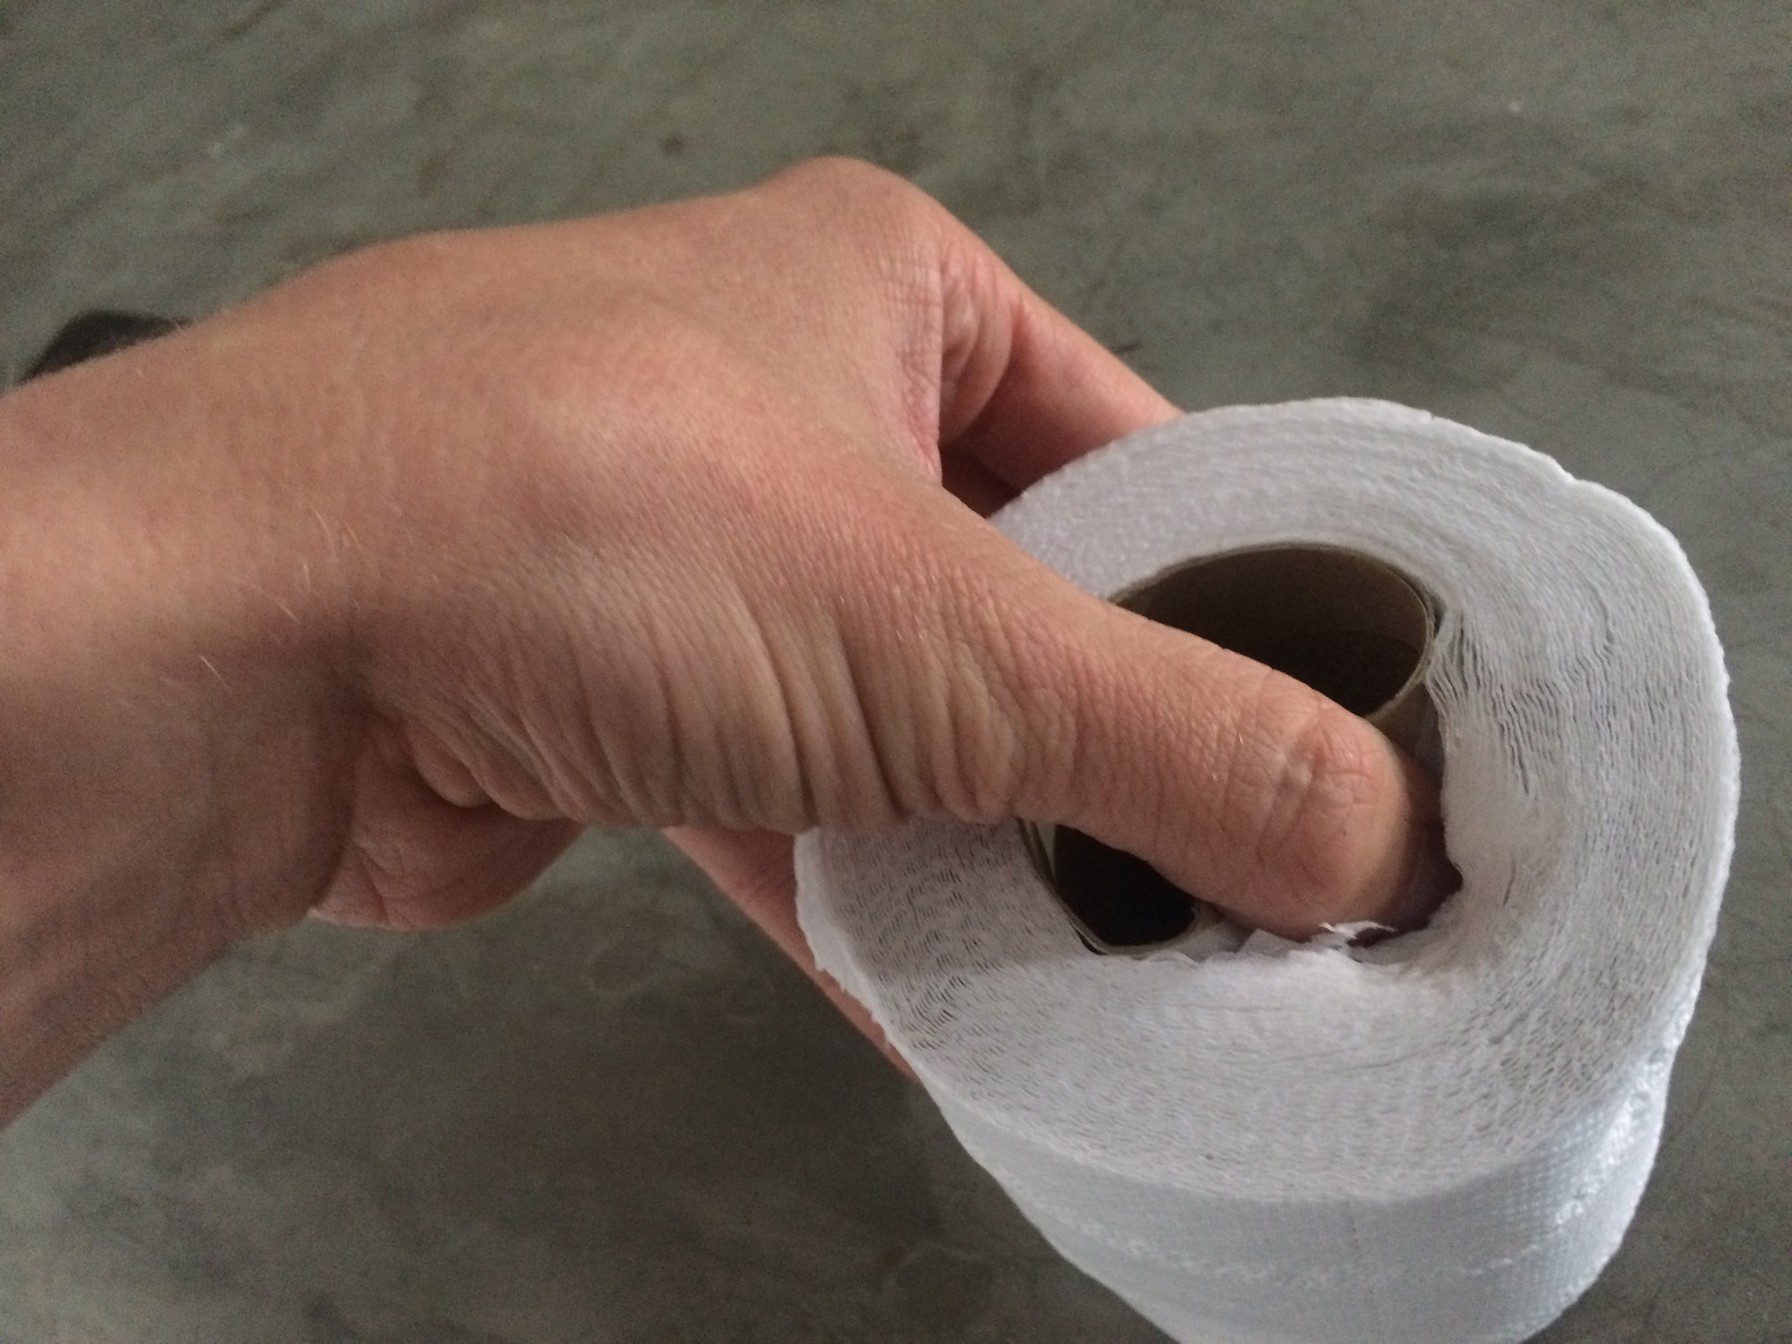

Path prepared, you can now push strongly in on the indentation, folding the tube into a C shape, and neatly pulling it out. You are a ninja. Well done.

This seems simple, but is fraught with possible missteps. The risks to you and your future access to tissue are real and meaningful.
The most common (and critical mistake) mistake made is to load your roll "standing", assuming you can pull the paper up, looping off the sides. This will not work. The paper will tear, your eyes will water, and that hurt, those tears will be real. But you can avoid them.
First, load your roll to "roll", not to stand. 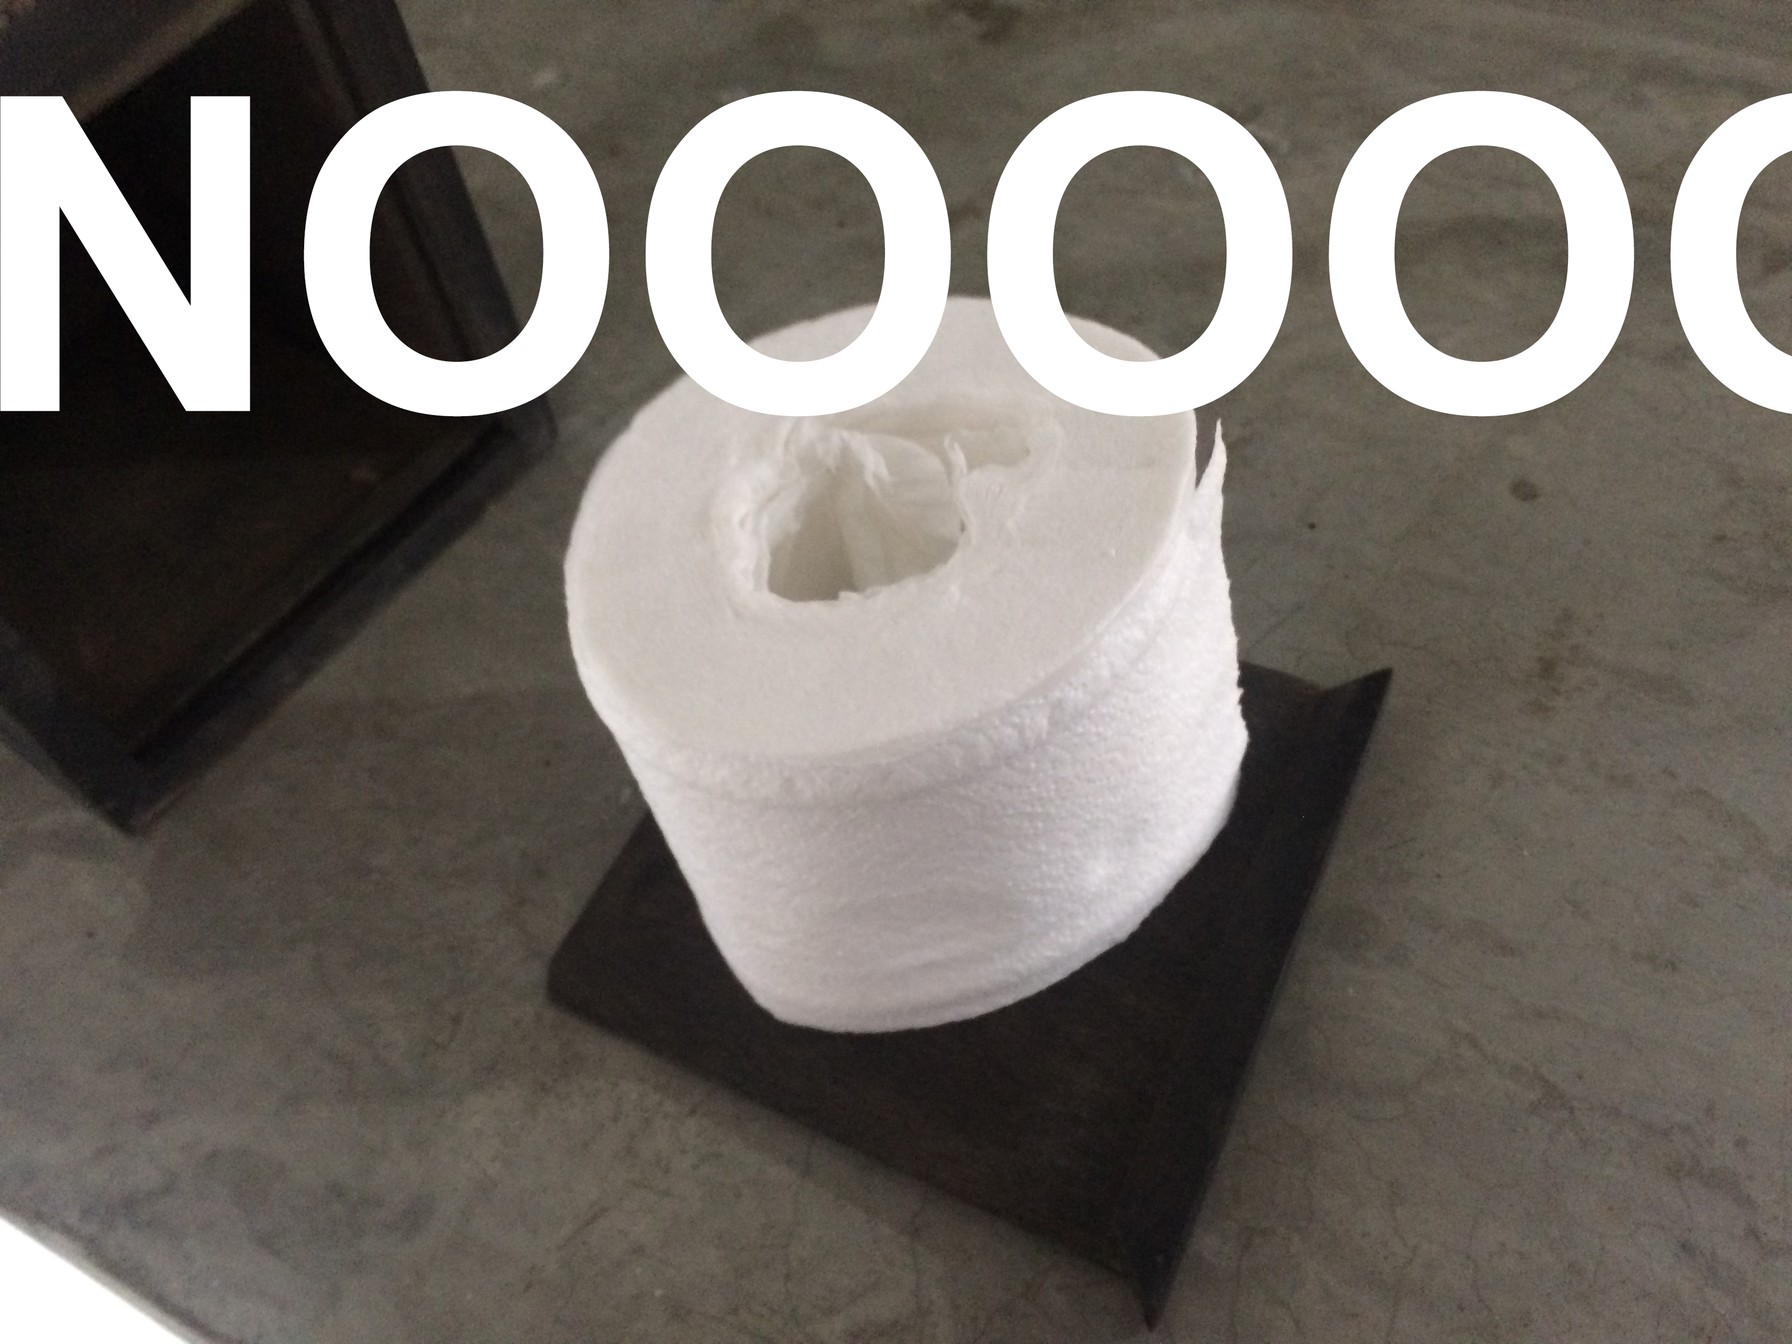

Second, turn your box upside down, and load it that way instead. 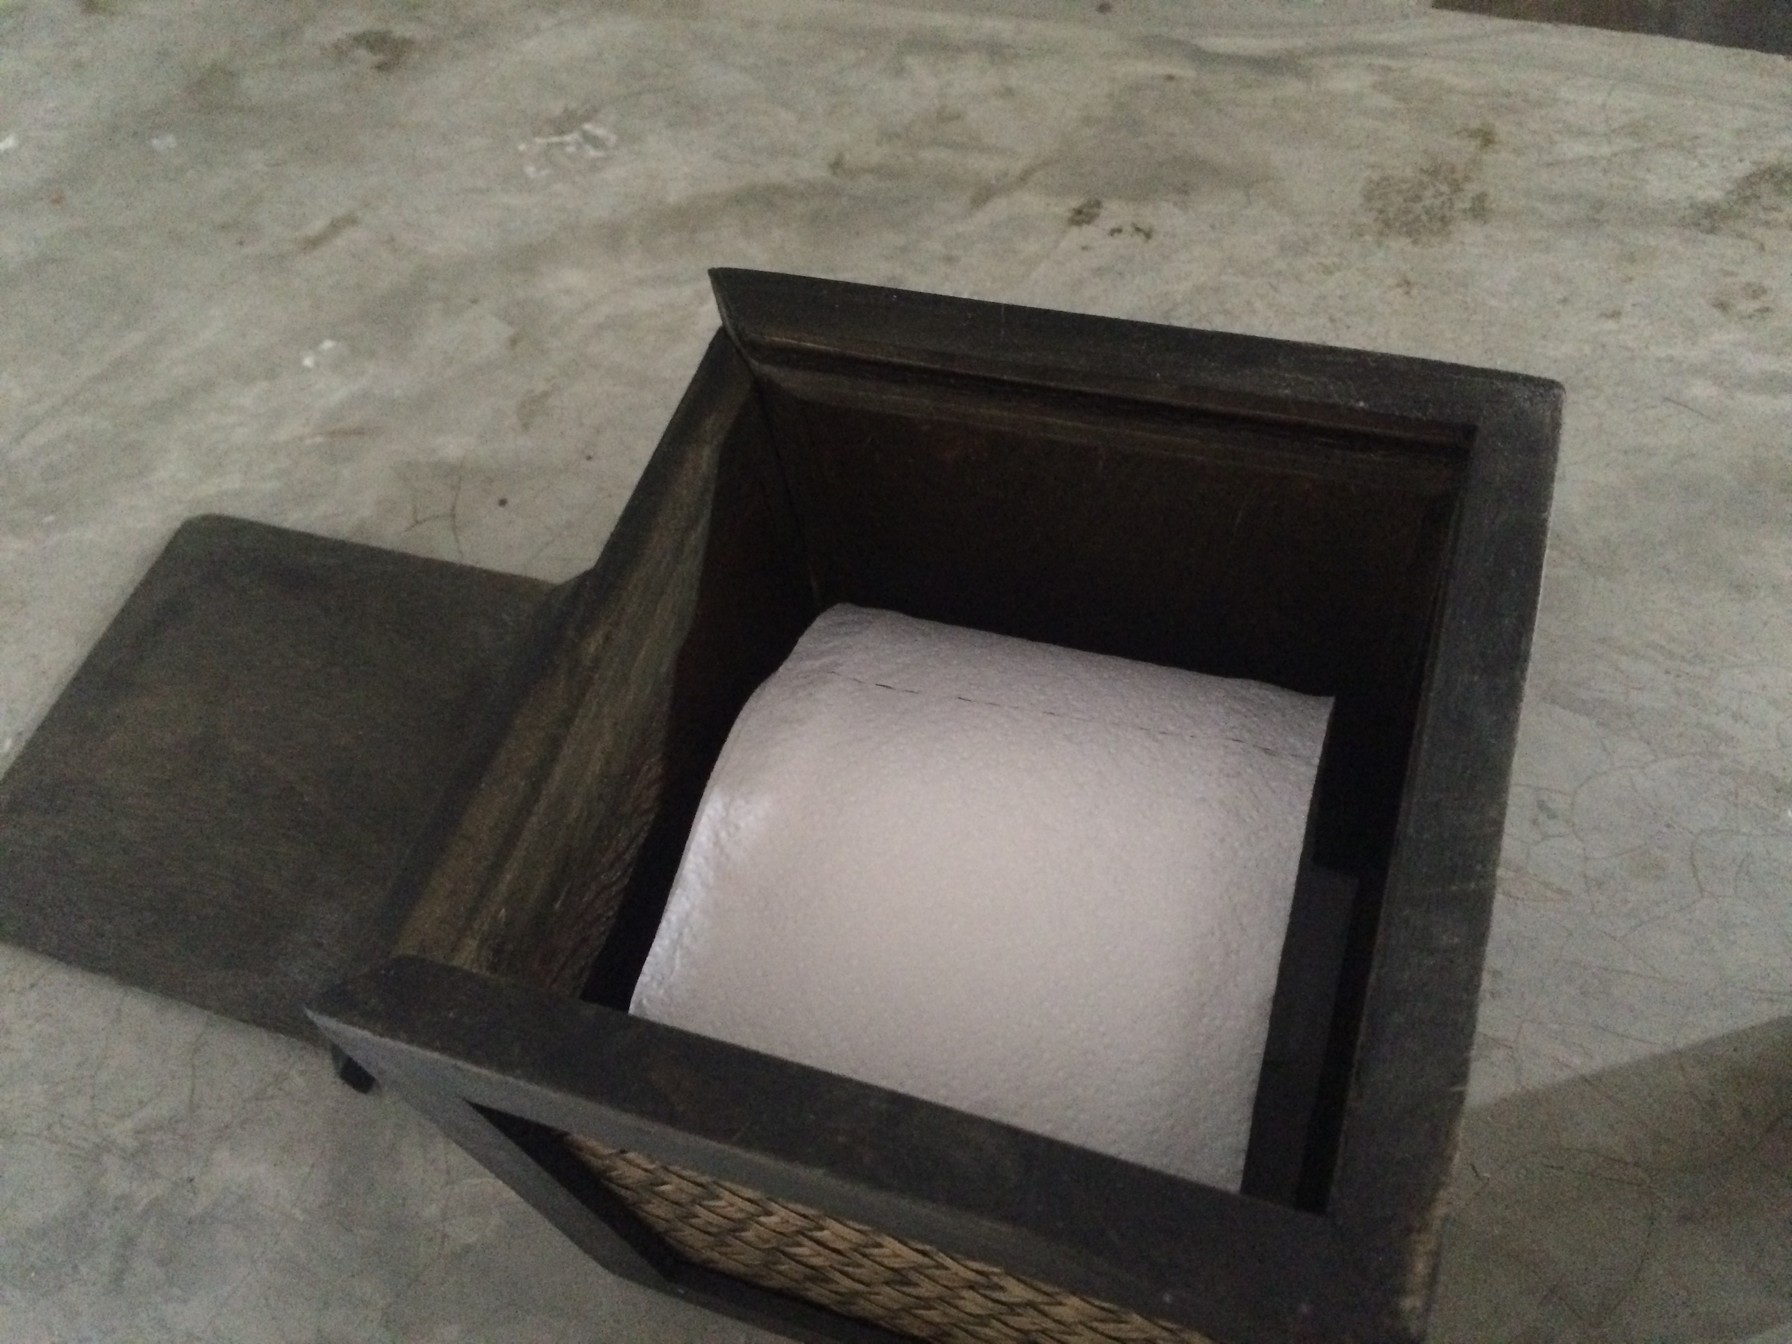
Finally, from underneath, pull through the start of the new, glorious tissue. I recommend at least two squares be pulled through, to avoid tissue fall-back syndrome.

Starter tissue pulled through, re-attach the bottom, turn over the box, and return it to its dignified location.

Give thanks to your box for protecting the sacred tissue from water, splashes of curry and spilled beer. Thank it for holding the tissue you will lovingly push into your nostrils before you spew bacteria-ridden discharge onto them. Appreciate its aesthetics, its beauty, its strength.
Appreciate yourself. Your dexterity, your foresight, your grace under immense pressure. You have done well, this day.
Proudly, blow forth.